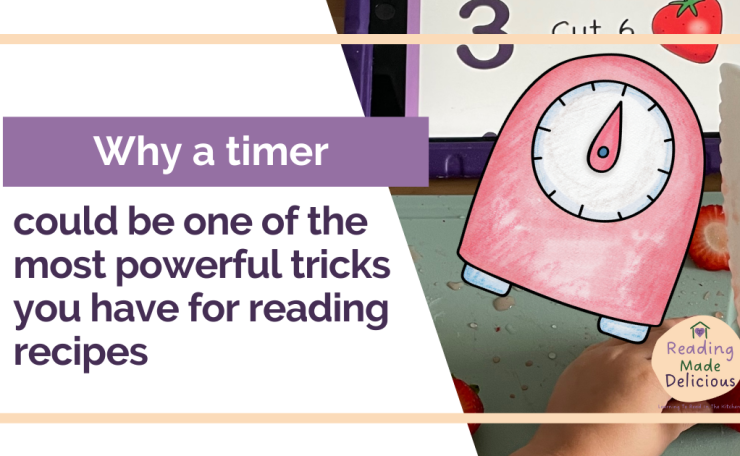
Adding a visual timer to your child’s cooking experience is a simple yet powerful learning tool. And it’s the visual part which can make a difference.
I started off just by using the timer on my phone. Well, that’s usually the one I use if I am cooking so thought it would be just fine. I even used it to get my daughter to tell Siri the time to get it to set.
And it worked fine. BUT I quickly realised I was missing out on a simple learning trick.
Over here at Reading Made Delicious a big value is making learning authentic and in real life as much as possible. So in many ways, I was just using what I do! Yet adding a timer that they could control on their own opened up more easy learning opportunities.
Which type and why
This is the style of timer we have been using now for over two years. And this is the exact one I got.
What makes this different is the clear colour to show how much time is left.
When you have a little one who is trying to get the idea of how long things last this is an easy way to show this to them. Anyone who has spent any time with a small child will know how time is a tricky thing for them (are we there yet, is it done yet, when can I have a snack – on repeat).
I also love how easy it is for them to turn and find the number they need. Yet I will not be held responsible for when they discover the sound buttons!
Using a visual timer with a recipe
I love this combo. Most recipes require some timing so the opportunity to use a timer will come up quickly.
So grab the timer when it comes up in a recipe. Show your child how it works and explain the colour section being how long it will take.
As with most tasks, you will need to show the first few times.
If your child is confident with numbers including working with 5s and 10s they will pick it up quickly. You can then use the opportunity to talk about the minute markers.
Telling time using analogue clocks and timers like this is becoming more difficult for kids to learn. I blame the iPhone and digital clock formats being what kids see more often. So this is a great opportunity to explain more about how timers work.
If your child is not confident with numbers yet, get ready for some in-the-moment learning magic. Having a number line handy to show them numbers and find it on the timer is helpful but you can one one step further by using a hundred square.
Using a hundred square
This has to be one of my favourite tricks for in-the-moment maths learning.
When we started getting more confident with single digital numbers, I started noticing that this wasn’t enough for timing in most recipes. Let’s face it few recipes need times under 10 minutes!
So I got a hundred square and posted it on the kitchen door. I say got… it is literally a large piece of paper (get a blank roll of wallpaper you will thank me on rainy days later) and drew a hundred square.
I wanted to make sure that the 10s were in different colours– I challenge you to spot that it was made with love and that I didn’t get interrupted halfway through. Why? Because of two reasons. Firstly counting in 10s is an important maths skill and secondly, most recipes need timing in 10s (or 5s but I didn’t want to overcomplicate to start with).
Now when we hit a time and the inevitable number guess happens– we got to the hundred square. They have a look to see if they can find the number and try again.
If trying again doesn’t work, here’s when some support can come in. Either by reminding to count in 10s or counting along from a number they know until they reach the number they need. Or simply starting it off for them then they carry one.
For example, if we need 40 minutes. I might say it’s an orange number. If they then are still struggling, say 10, 20 and let them continue.
It may take a bit longer but this is real use of numbers!
So are you going to start using a visual timer? Is such a simple maths tool that also doesn’t just have to be used with recipes!
Content Disclaimer
The information contained above is provided for information purposes only. The contents of this blog post are not intended to amount to advice and you should not rely on any of the contents of this blog. Professional advice should be obtained before taking or refraining from taking any action as a result of the contents of this blog. Sarah Travers disclaims all liability and responsibility arising from any reliance placed on any of the contents of this post.

